


")
5 SECRETS TO A RELAXED WAVES HAIRSTYLE For those of you who like curls (whether you like making them or not!)
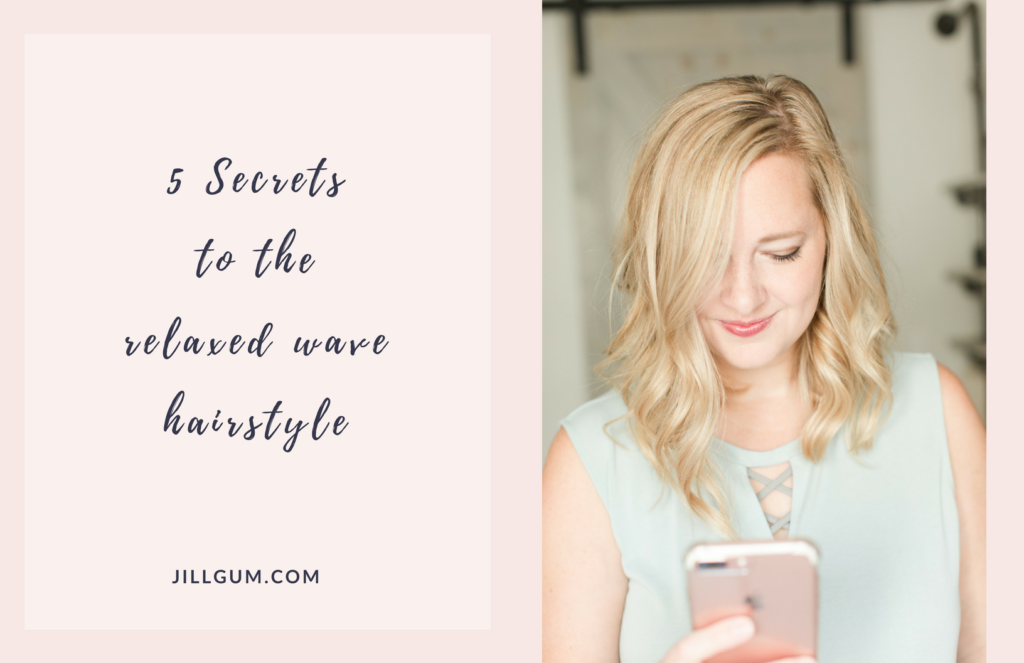
While I do not consider myself any bit of a hair/makeup/style expert (and certainly not a beauty blogger!), I do get asked about hair a lot by both in person and internet friends, so today I wanted to share one of the topics I am asked about the most: achieving the (very in style right now!) relaxed curl/waves look! I know people come into hair tutorials with all different levels of knowledge, and I also know well that everyone’s hair styles, colors, and cuts differently based on it’s individual texture…so no rules work the same for everyone! Because of that, I am going to just share my top 5 tips for achieving that relaxed wave look (most of which really just go for any curly style at all, regardless of how relaxed), starting with the most important…
1). Curl away from your face on both sides. This is the number 1 thing I see people do that I did for a long time before realizing how young it made my curls and me look is to curl one direction around your whole head. This is people’s natural instinct because it requires the same wrist movement all the way around, and is the natural thing to do. So one side has curls going away from your face, but the other side curls in…the difference it makes is pretty remarkable in how mature your curls look. Here are curls all in one direction (so they are going away from the right side of my face, and towards the left side):
To avoid this, and curl away from my face on both sides, I start on the side that is natural for me to curl away as a right handed person (which is the right side of my head), and then when I switch to the other side, my right arm has to cross in front of me, and I twist my wrist the other way. I change directions somewhere in the back- it doesn’t matter too much where.
Pro tip: In the very front, you have to curl away from your face all layers of your hair as discussed. Closer to the sides and back though, it is ok if the lower layers of hair get curled the opposite direction, and can actually give your curls a bit more body, which I always love. This brings me to tip 2:
2). Curl in layers! No matter how thin your hair is, you need to pin up the top layer of hair and curl the bottom first. I have to do 3 big layers, and some people might have to do closer to 4 or only 2 depending on how much hair you have. If curl with all your hair down (even if your hair is short), you are bound to miss a lot of lower layers, and that just causes it all to fall much sooner.
3). For me, my curls are much less “Shirly Temple” esque if I put my curling iron (which is what I typically use vs a wand) in in the middle of the strand I am curling and get towards the ends and root as I am twisting vs just putting it in at the bottom. When I put my curling iron in at the bottom, the ends of my hair strands are closer to the heat and therefore have much more curl, but closer to the root is very straight and limp, and that isn’t ideal for the relaxed wave look!
4). This might be one of the biggest keys to the relaxed wave look: I don’t curl all the way to the ends. I leave about 1/2 an inch give or take out of the curling iron, and it is amazing how much more relaxed and mature this causes it all to look! When I first learned this tip, I thought it was nuts and I was sure there would be odd straight ends poking out, but the result was so different than I thought it would be! You have to try it to see!
5). Use your fingers to comb through your curls once they are cooled. If you do it when they are still hot, they will just come right out (or mostly come out, depending on your hair texture). This is another major key to the relaxed wave…use your fingers to comb through and combine the curls a bit so that they sort of sit together instead of having many individual spirals. I kind of rake through from my root to the top lightly moving wrist back and forth so my fingers just break up the curls a bit.
If you try these tips and notice your curls are more “spiral” than you wish, try to turn down the heat on your iron a bit. Conversely, if you notice that there isn’t enough wave for your liking, turn it up a bit or finger comb a little less or more lightly to keep the curls in tact. And don’t be afraid to use some product before/after you curl– otherwise your hard work might be gone by noon if you live in a humid climate like me! I use both a strong (but light) hairspray and also a texturizing spray after, and often some root lifter before.
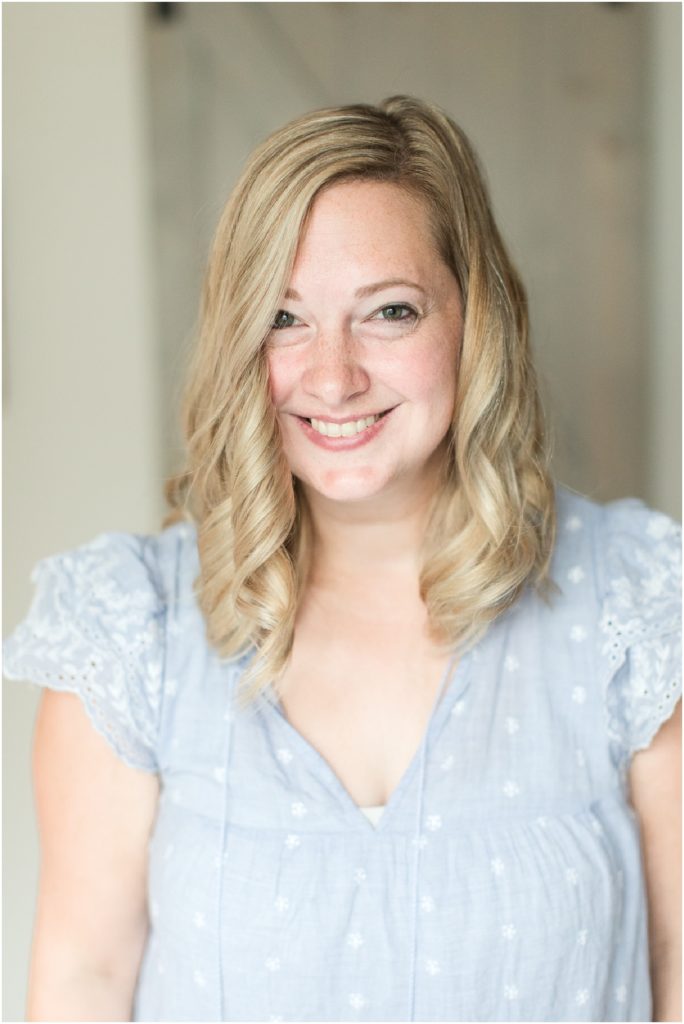
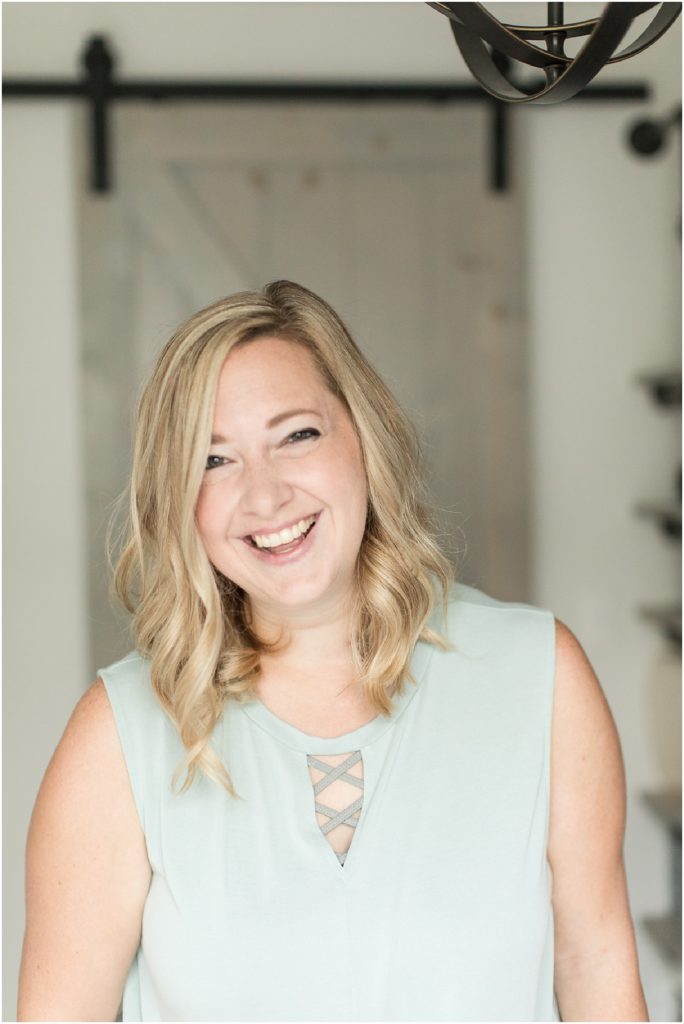
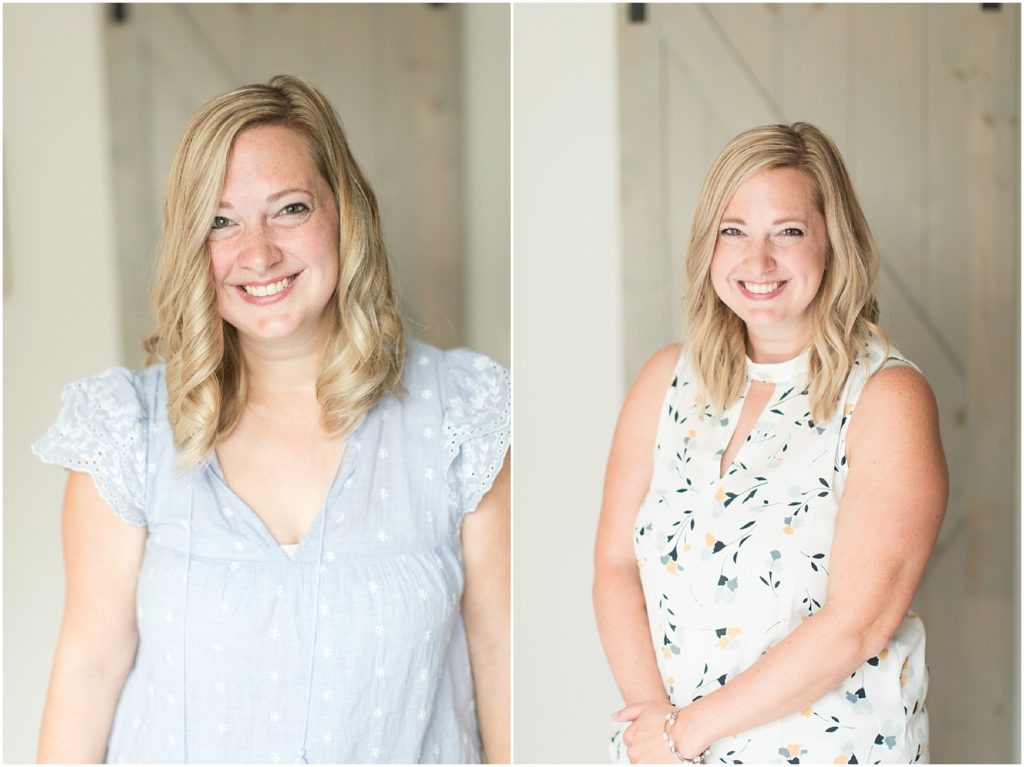
In the picture on the left, I did the opposite of all these tips…curled from the very bottom including the tips, curled all in one direction, curled with all my hair down, and left the curls exactly as they came out of the iron. On the right, I followed all the tips for my typical relaxed waves look!
*Side note: my fabulous Virtual Assistant pointed out that curling all TOWARDS the face (still not all in one direction, but towards on both sides) does have it’s time and place if you are going for a themed 1940s pinup look…but you are still not curling all in one direction!
I hope this is helpful for those of you who like to wear your hair curly….let me know below if you would like a video showing this or how it goes when you try these tips! I think #1 is the biggest changer in the overall effect of your hairstyle, and #s 4 and 5 will really do the most for the relaxed look! Try these tips and let me know below how it goes!!
Edit your cell phone photos with just ONE click to either "fix" an issue or add beautiful "flair" and style to your photo!
JILL GUM Everyday
Fix and Flair Presets
INTRODUCING
LEARN MORE
before / after


Leave a Reply
I'm Jill, a wedding and portrait photographer based out of Chicago and Central Illinois, and available world wide! I'm also a photography educator, wife to my favorite person on the planet, mama to 3 amazing kids and an energetic Aussie, and obsessed with statement jewelry and all desserts (especially fruit pies!).
As a past high school teacher, I have a major heart for education. After going full time in my business, I have built a business I love that gives me an almost 6 figure salary and allows me to be home part time with my kids. I dream for you to run a business that enhances your life and lights you up, and I believe I can help you learn how to do it with a little hustle and a lot of heart!
click to learn more about me

Hello Friend!
Are you a Photographer?
Start HERE!
Are you a mom/hobbyist?
Start HERE!
You're in the right place! As a past high school teacher, educating others is my life's work and a HUGE part of my business! I have been teaching moms and hobbyists how to use their camera from first purchasing it all the way to coaching them into businesses of their own, and I'd love to help you as well, wherever you are (and whatever camera you have!).
I'm so glad you are here! Teaching Photographers and other small business owners how to run more joyful, successful, and profitable businesses is one of my favorite parts of my business! I specialize in working with photographers to make their goals a reality (or figure out what their goals should be in the first place!).


")


Click to leave a blog Comment!
We love reading your thoughts! Please also feel free to share the post using the links below!